Tuesday, September 28, 2010
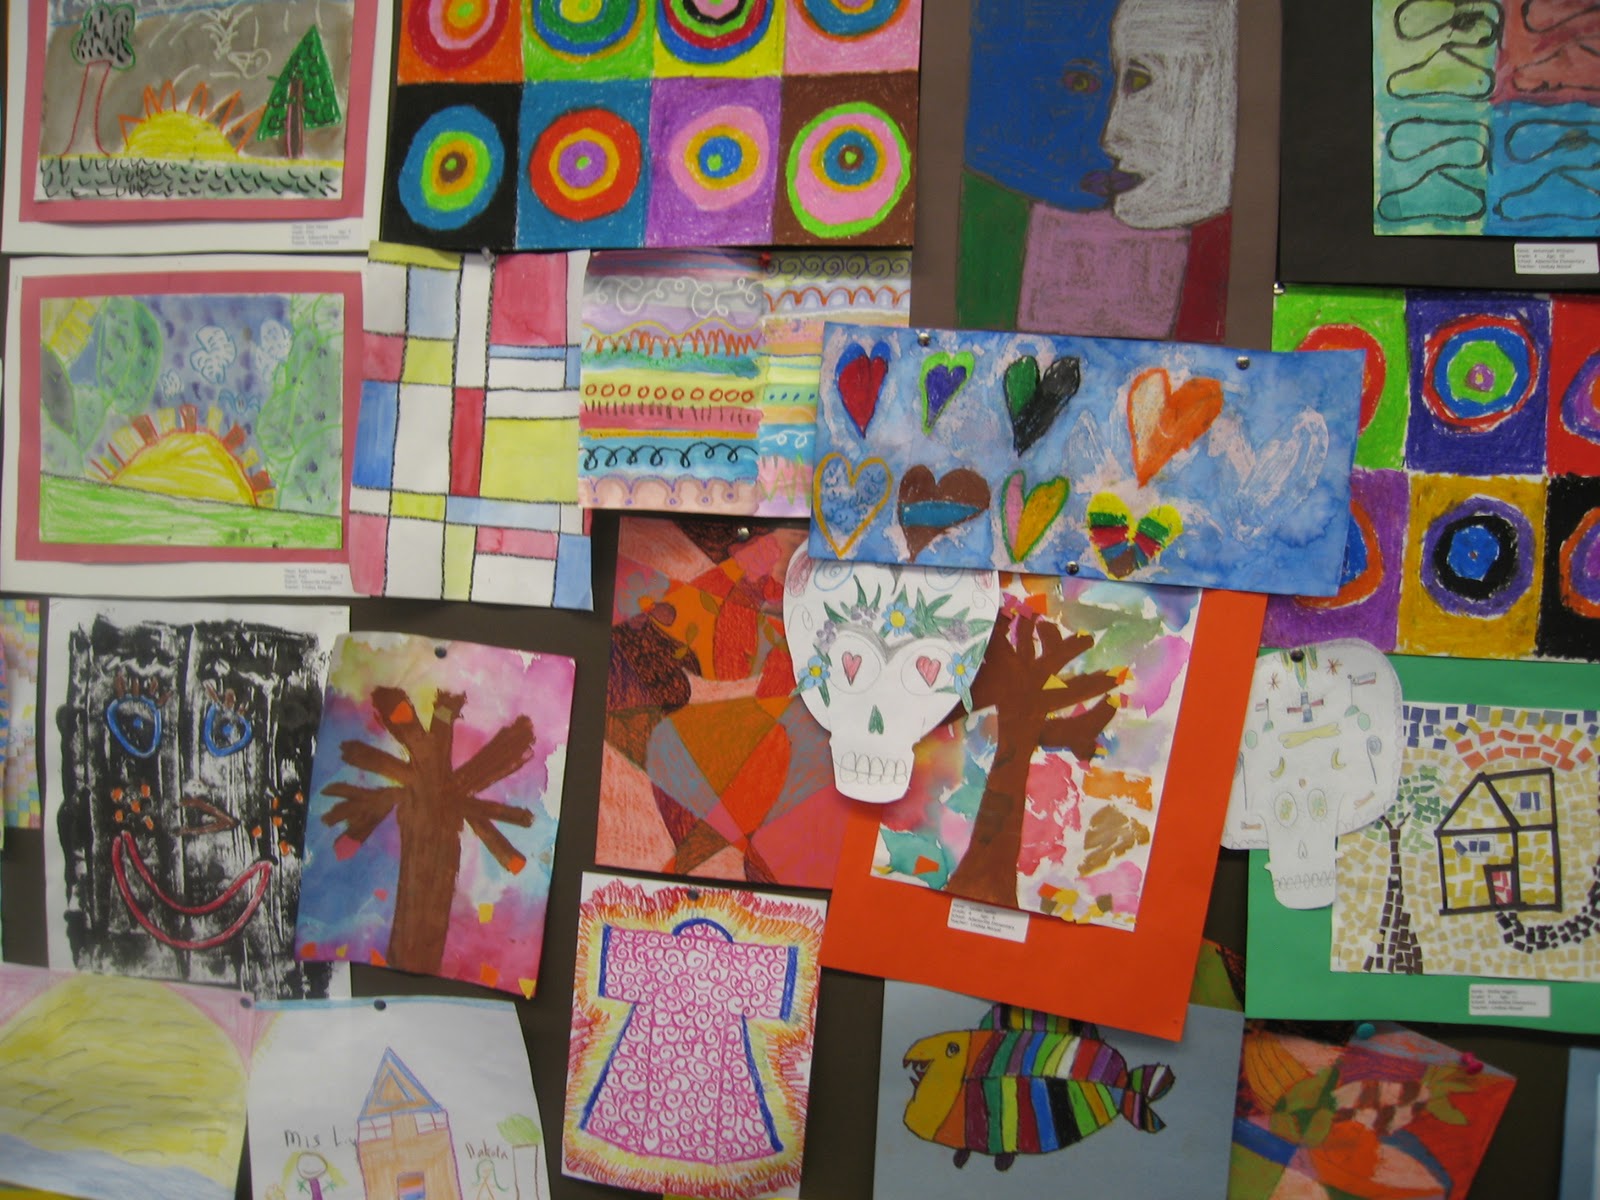
Art Wall
Monday, September 27, 2010
Watercolor Magic

Eventually I taught a lesson that called for watercolors, so I decided to give them a shot. I soon found, that they were indeed magic. I had been a bit skeptical because I have tried eveything from the oval watercolor palettes (which end up all a muddy brown once the younger kids get ahold of them and mix them all up) to the more professional grade watercolors out of a tube that are not only expensive, but also take a lot of prep time to mix. I was also a little skeptical because these watercolors come already in liquid form in a bottle; which made me think that the vivid colors would be diluted and that the magical watercolors would dissapear very quickly in their very own magical act! Poof! However, I found them to be very bright and vivid, even after I diluted them further. They turned what might have turned into muddy messes of art into bright and beautiful artwork!
This year, when I was planning my budget for the artroom, I bought every color I could get my hand on! They even come in metallics and pearlescent tones. Check them out!
Tuesday, September 21, 2010
Picassohead
I stumbled upon this fabulous website, picassohead. It allows you to pick and arrange faces, abstract shapes, and facial features to create your very own virtual art image in the style of famous Spanish Cubist artist, Pablo Picasso. What a fabulous way to incorporate technology into the classroom! Not to mention how much fun it is. Even if you aren't in the mood to create your own, it is neat to peruse through the gallery to see the "picassohead" creations of others.


Monday, September 20, 2010
Underwater Mural
My first year teacing in the public schools, one of my principals jokingly told me, "Ok, this is your chance to outdo the last art teacher and prove you are a better artist!" What she meant and what she explained to me, was that she wanted me to create a mural on one of our school walls. Not ever having done such a thing, I was a little nervous, but in the end it turned out really cute. I love the ocean and all of the whimsical creatures that are associated. Also, i admittedly have a bit of an obsession with coral. It's just so neat, intricate, and beautiful. So, naturally, I decided to do an underwater scene for the mural. I started by sketching things out with my all time favorite art supply, a black Sharpe marker. Then, I painted everything in with acrylic paint. This was my very first mural, so I was pretty pleased!


Friday, September 17, 2010
Paul Klee Castles
Ocassionaly I get a little stumped as to how can I teach a familiar objective using a new lesson or idea. So, I turn to my best friend google to lend a hand (he never lets me down)! Through google, I have found many other art teacher blogs, art lesson plans, cultural history, craft collectives, and the like. One of my favorite blogs, Art Projects for Kids, has contributed many ideas to my classroom; including this one!
In this lesson, we looked at art examples from an abstract artist originating from Switzerland, Paul Klee. Klee's artwork has been associated with such art historical styles as Expressionism, Cubism, and Surrealism. He loves geometric shapes. So, I took the opportunity in this lesson to help my students differentiate abstract art from realistic art and geometric shapes from organic ones.


In this lesson, we looked at art examples from an abstract artist originating from Switzerland, Paul Klee. Klee's artwork has been associated with such art historical styles as Expressionism, Cubism, and Surrealism. He loves geometric shapes. So, I took the opportunity in this lesson to help my students differentiate abstract art from realistic art and geometric shapes from organic ones.

Paul Klee's painting, Castle and Sun
I did this lesson with my younger students (K, 1st, 2nd, and 3rd grades). First we talked about the different parts of a castle (turrets, towers, flags, moats, drawbridges, etc.). Then, I encouraged the students to use the ruler to help them create straight lines and geometric shapes. I also constantly reminded students to use a lot of shapes to add detail to their artwork. After drawing their castles onto construction paper, they colored in each shape a different color. Lastly, they traced around each shape with either white or black oil pastel so the colors would really "pop."


Thursday, September 16, 2010
Starry Night Mural
Last year I painted my classroom a bright blue color (the actual color was called "Bay City Blue"). My favorite colors are any combinations of blues and greens, so I accented with lime green. I have a huge blank wall in the back of my classroom, so I thought, "Why don't I paint a mural there?" So, I did! I sketched my humble verison of famous Dutch artist, Vincent van Gogh's Starry Night and commenced painting.


Wednesday, September 15, 2010
Optical Illusions

After looking at all of the illusions on the board, I passed out 9 x 12 newsprint, plastic bowls to trace circles, pencils and rulers. First, the students created a practice drawing. This was very important because the concept of using a ruler to draw straight lines was a bit foreign to them and the level of difficulty on this project was fairly high. I thought teaching them ruler skills was beneficial too, because that is a skill that they may be tested on in math. This lesson was also a wonderful way to introduce basic perspective and the vocabulary associated with it.

First the students traced a circle anywhere on their paper using a bowl, then they made marks on two sides (one long and one short) of their paper every inch. Next, they used the ruler to create a checker pattern in their background by drawing a line everywhere their one inch marks were. After that, they turned their circle into a spherical form by placing vertical curved lines that all dissapear at the same vanishing point on top and bottom. Then they repeated this for the horizontal lines. Lastly, they colored in their image with two crayon colors of their choice!
The results were magnificent!
Tuesday, September 14, 2010
Welcome
I am very excited to welcome you to my blog! Over the course of the current school year, I plan to catalog a majority of the art lessons I do with my students; as well as other happening involving my adventures in teaching art.
I intend for this blog to be both a learning experience for me and a way for parents and students to track the progress of art education throughout the year. I can't imagine how much fun it would be to see my very own artwork floating in cyber space if I were a kid! Feel free to leave questions, comments or suggestions.
I intend for this blog to be both a learning experience for me and a way for parents and students to track the progress of art education throughout the year. I can't imagine how much fun it would be to see my very own artwork floating in cyber space if I were a kid! Feel free to leave questions, comments or suggestions.
Subscribe to:
Comments (Atom)